If you moved to Canada from the United States or a country where Venmo, Zelle, and Cash App are everyday tools, one of the first surprises is that none of them work here. Newcomers often assume a payment app is a payment app everywhere — it isn’t, and figuring out the Canadian equivalents in your first few weeks saves you from awkward moments splitting a dinner bill or paying a landlord a damage deposit.
Which US Payment Apps Actually Work in Canada vs Which Don’t
Start with what doesn’t work at all: Venmo, Zelle, and Cash App are restricted to US bank accounts and US phone numbers. Even if you keep your American bank account open after moving, none of these apps will let you send or receive money once your address, SIM, or linked card shows a Canadian footprint. This is a deliberate design choice — all three are built on top of US banking rails (Zelle in particular is owned by a consortium of American banks and only connects to US-based accounts).
What does work, in some form, is PayPal and the two mobile wallets, Apple Pay and Google Pay. Canada also has its own dominant peer-to-peer system that most newcomers haven’t heard of before landing: Interac e-Transfer, which is built directly into nearly every Canadian bank’s app and is the closest equivalent to what Venmo does in the US.
PayPal Canada: What’s Different From the US Version
PayPal Canada operates as a mostly separate ecosystem from PayPal US. If you already have a US PayPal account, you generally cannot simply “switch” it to Canadian once you land — PayPal ties your account to the country tied to your bank card and address, and moving countries on an existing account can trigger holds or verification requests. Most newcomers find it cleaner to open a new PayPal account tied to a Canadian bank account once one is set up.
A few practical differences: PayPal Canada charges different currency conversion fees than the US version, buyer/seller protection terms follow Canadian consumer law rather than US law, and some merchant integrations common in the US (certain in-store PayPal QR terminals, for example) are less common at Canadian retailers. PayPal remains useful in Canada mainly for online shopping and freelance/marketplace payments — it is not the primary way Canadians send money to friends.
Apple Pay and Google Pay Setup for Newcomers
Apple Pay and Google Pay both work normally in Canada and are arguably more useful here than in the US, since tap-to-pay is the default checkout method almost everywhere, including many transit systems. Setup is straightforward:
- Add your Canadian debit or credit card once you’ve completed opening a Canadian bank account — most major banks (RBC, TD, Scotiabank, BMO, CIBC) support both wallets natively in their apps.
- If you’re still waiting on a Canadian card, some newcomers temporarily keep a US card loaded, but foreign-currency transaction fees apply on almost every purchase, so this should only be a short bridge.
- Tap limits without a PIN are typically $250 CAD per transaction (varies by issuer), higher than the $100 USD-equivalent limits common in the US.
Why Venmo and Zelle Don’t Work in Canada — and What to Use Instead
The direct replacement for Venmo/Zelle-style person-to-person payments in Canada is Interac e-Transfer. Every major Canadian bank supports it inside their regular banking app — there’s no separate app to download. You send money using someone’s email address or phone number, they get a notification, and funds usually land within minutes once accepted. There’s no separate “e-Transfer app” to sign up for the way there is with Venmo; it’s just a feature inside your existing bank account, which is one reason many newcomers don’t notice it at first.
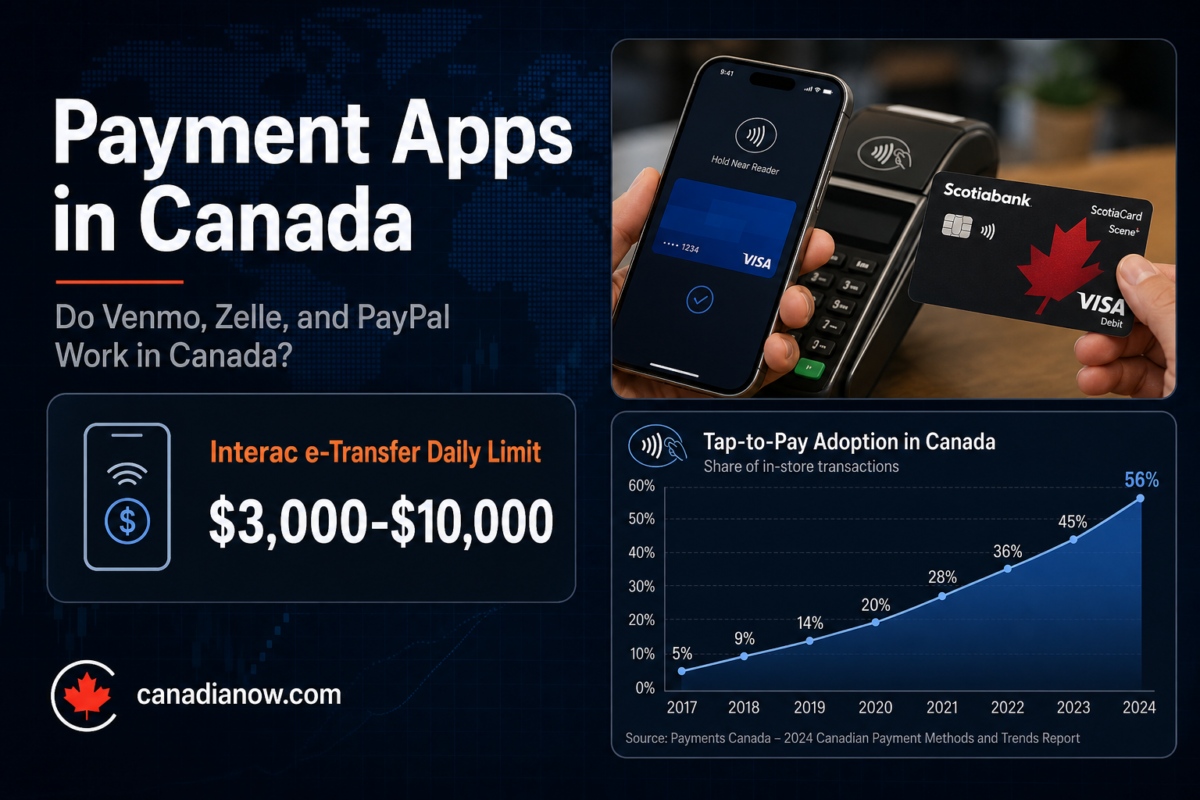
A few things to know before relying on it: most banks cap e-Transfers at $3,000–$10,000 per day depending on your account type, some require the recipient to answer a security question if you haven’t set up Interac’s autodeposit feature, and small transfer fees ($0–$1.50) apply on certain account tiers. Once you’ve started building Canadian credit history, upgrading to a fee-free chequing account with unlimited e-Transfers is usually worth it if you send money frequently.
Sending Money to Family Abroad: Wise, Remitbee, and Bank Wire Compared
None of the apps above are built for international remittances — for that, newcomers typically compare three options:
| Method | Typical Cost | Speed | Best For |
|---|---|---|---|
| Wise | Low, transparent % fee + real exchange rate | Minutes to 1 day | Frequent transfers, transparency |
| Remitbee | Low flat fee, competitive rate | Minutes to 1 day | Transfers to South Asia, Philippines, and similar corridors |
| Bank wire | High flat fee ($15–$50) plus weaker exchange rate | 1–3 business days | Large one-time transfers, especially for real estate |
For recurring transfers to family — the most common newcomer use case — Wise and Remitbee are almost always cheaper than a traditional bank wire because banks mark up the exchange rate on top of the flat fee. Reserve bank wires for large, infrequent transfers where the sending bank offers a negotiated rate.
One habit worth building early: check the mid-market exchange rate (the one you’d see on Google or XE) before every transfer, then compare it to what the app or bank is actually offering you. A “no fee” transfer that quietly marks up the exchange rate by 3–5% often costs more than a transfer with a visible $5 flat fee and the real rate. This single check is the fastest way to spot which providers are being transparent and which are recovering their margin somewhere you can’t see it.
A Quick Setup Checklist for Your First Month
Most newcomers end up needing three payment tools running in parallel during the transition, rather than picking just one:
- A Canadian bank account with e-Transfer enabled — for rent, splitting bills, and day-to-day payments to people in Canada.
- Apple Pay or Google Pay linked to that account — for tap-to-pay purchases and transit, once your physical card arrives.
- Wise or Remitbee — for anything leaving the country, set up separately from your day-to-day banking.
Keeping these three distinct — rather than trying to force a US app to do all three jobs — is the fastest way to stop losing money to conversion fees and failed transfers in your first few months.